Dirty Brushes

Blog about oils, education and life
Showing posts with label process. Show all posts

New version of the old painting

Tuesday, May 31, 2016

Perhaps, you remember that I have a painting called "Artist is juicing his heart to create a masterpiece". It's been just over a year since I completed it. Unfortunately, the quality of that artwork is no longer sufficient to include this piece in portfolio and be proud. I really liked the idea of this work, that is why I couldn't hide it in a dark corner and forget about it. Besides, who does not like to look at photo comparisons like "that is how I painted in 2015 and in 2016"? I admit that I love it, because such photos are always very inspiring.
At the same time, I've decided to rework one more old piece - "The Decision is Yours". I'll write about this painting a little bit later.
Here I was using a method that I've learned from one of the famous artists - instead of doing everything at once, I was working gradually - firstly, I finished the face, then began to move around. It's a bit early to say whether or not I like this method, but I'll talk about it in details next week (with a new example).
You can compare the process of creating a previous version of the painting, which is HERE.

What did I do in April. Part 2

Monday, May 16, 2016

I'm here again to continue the talk about April.
Here is one of the paintings from the series called "Last Dance" (you can see it in a good quality in my portfolio).
I don't like to buy flowers with an intention to paint them, it's too responsible for me - you need to be sure that this week you'll sit down to paint them, and, if for some reason it doesn't happen, I'll feel guilty. Plus, to the dismay of my dear mother, I don't like to draw beautiful flowers.
It was different with these flowers, because they were fading beautifully. They stood on my desk and almost talked to me - look at us as we bent, dance, don't you want to draw us? Eventually, they persuaded me and it turned into a whole series.

What did I do in April. Part 1

Friday, May 6, 2016

It's already May! I was swallowed up by new artworks and didn't do a single post.

What was going on that month? I wanted to make a quick overview of what I did, thought of, planned, but, as usual, the review began to grow rapidly. So I've decided to divide one long post into a few smaller. It seems that in May I'll talk about April. Do not judge me for this delay!

Recently, I've been trying different approaches to working with palette. For example, this time I tried to mix colors in a puddle. Some painters go further and create a puddle of one color, parts of which they lighten or darken depending on their need. I was afraid that it will turn into mud too quickly, so I premixed several colors from light to dark and worked with them.
If the colors are close, it's much easier to create the transitions between them or make them colder/warmer. The only drawback, which is noted by many artists, is that the mixture gets dirty quickly, so you need to clean the palette from time to time and mix colors almost from scratch.

Santa painting

Monday, November 30, 2015

The Christmas is coming, so I've decided to paint one of the symbols of this magical day - the pleasant bearded man. 
The painting looks so different on different monitors *sighs*, it's impossible to make it look as it is in real life.


The reference photo is by Skydancer-stock from DeviantArt. 

I was inspired by this portrait of Pavel Chistyakov by V. Savinskiy. The idea was to create a contrast between realistically rendered head (and hand) and everything else.


Here is my favorite part of the painting:


I've posted stages of the process on my Instagram:

Step by step: the process of creating the Artist is juicing his heart to make a masterpiece

Wednesday, April 22, 2015

*I think I've almost set a record in category "The Longest Name of the Post"

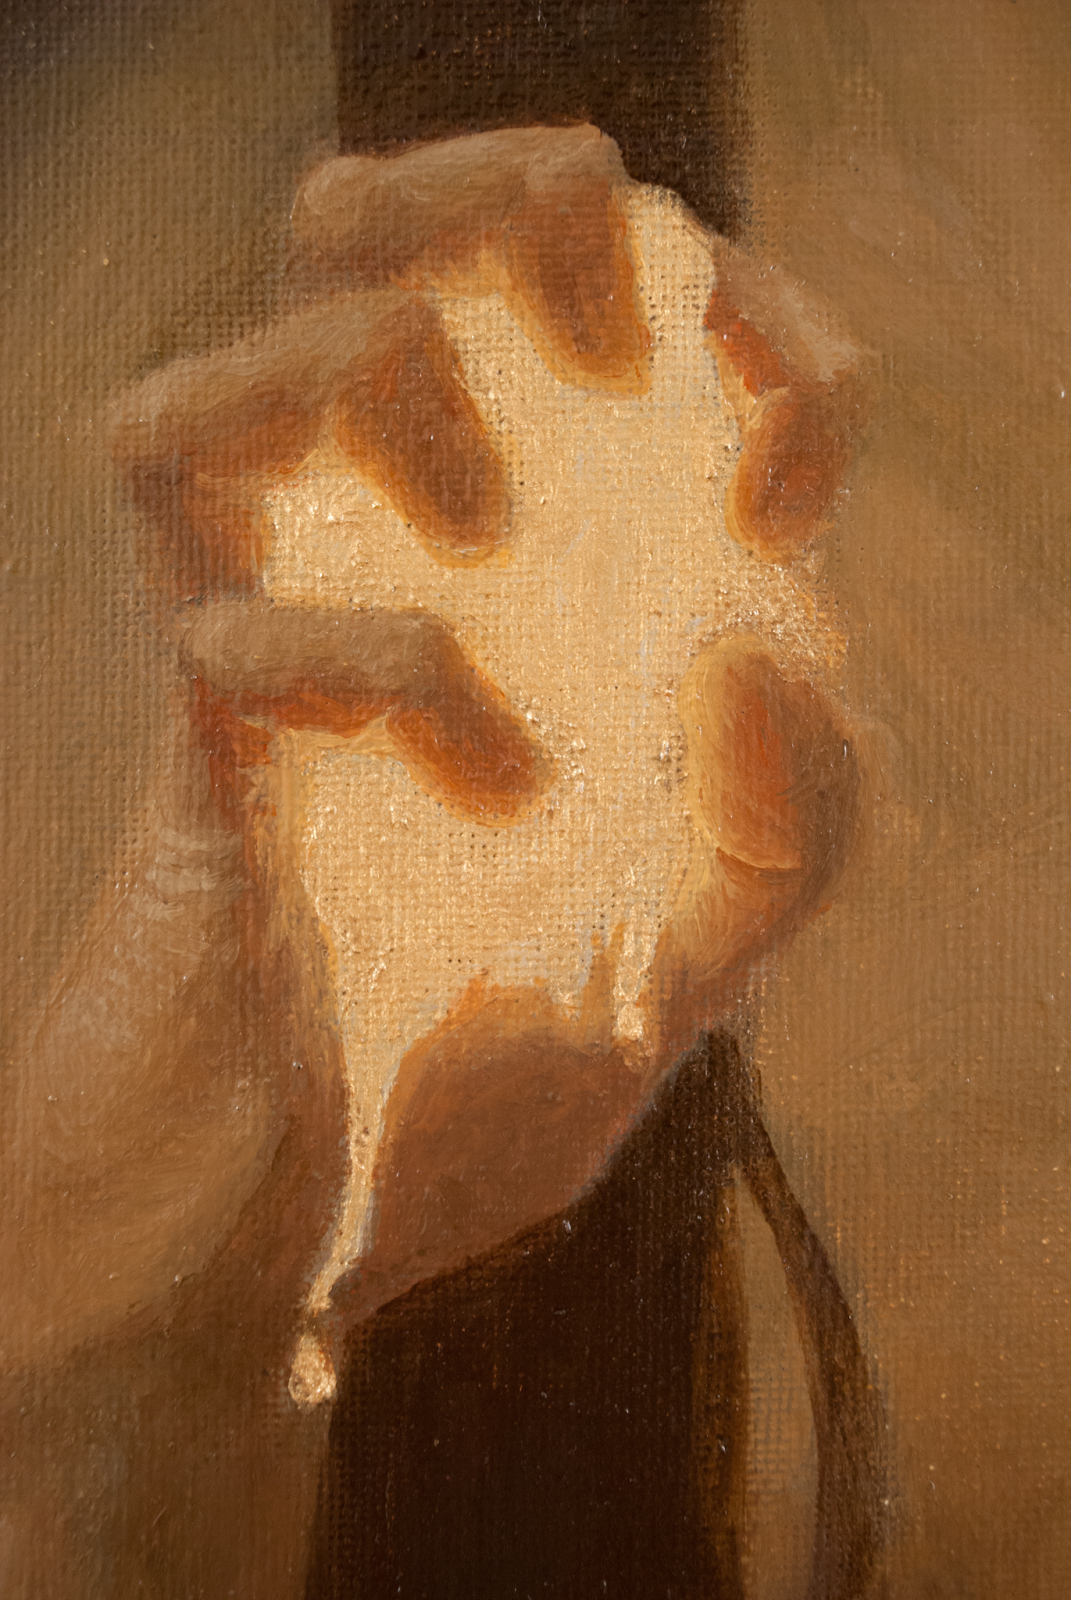
The idea of this painting came to me when I was watching one of those heartbreaking movies about the artist - when he does his best and keep struggling.

The process is almost identical to the process of my previous painting "Confidence and Determination". Here you can find the step by step guide - http://zarinasitumorang.blogspot.ru/2015/04/step-by-step-process-of-creating.html

But in this particular case I didn't do the color sketch. The consequences were bad - I had to redone the colors 3 times, which means that I had to erase the color layer completely. It was my absolute record in redoing something. The good thing about that is I would never forget to do the color study before starting the painting. Own mistakes are the most enlightening. Plus I've got a new idea for a future article - the importance of the color sketch.

The initial sketches

The sketch of the hand and the detail of the finished painting.


The process


The original work on DA:

http://bit.ly/1yOgoYQ

Step by step: the process of creating the Confidence and Determination

Sunday, April 5, 2015

1. The beginning

The painting always starts with an idea and a sketch. Usually I don't do many sketches, because the image in the head is quite clear. This sketch looks pretty similar to how the painting will look at the end.  


2. Exploration

The next stage is exploration - time to study model, do drawings and value sketches, find references. It's the most promising and thrilling stage. 
Always interesting to find out how other artists explore the similar theme. Through the process of painting I was constantly looking at this beautiful work by Richard Geiger to get the dose of inspiration and motivation.

3. Values

When the detailed sketch is done I traced it on canvas. Usually I colorize canvases with a mix of turpentine and raw umber, it's much easier to judge the values when they are applied to colored surface. It also gives you the ability to start from the white parts if you want to.

Starting from the big shapes I'm building the values. When the initial relationships are done I start to add the details.


4. Colorizing

The most tense stage for me, because the end is close.
I start with a washy mix of oil colors and a thinner. After the first rough layer dries I continue to paint over.


5. The final

When everything is done and dried I check if the extra adjustments are needed and, if nothing needs to be done, I apply the retouching varnish. It helps to protect the painting and luster the colors.

After a year or so the painting needs to be covered with a damar varnish which keeps your work glossy and fresh throughout the years.